
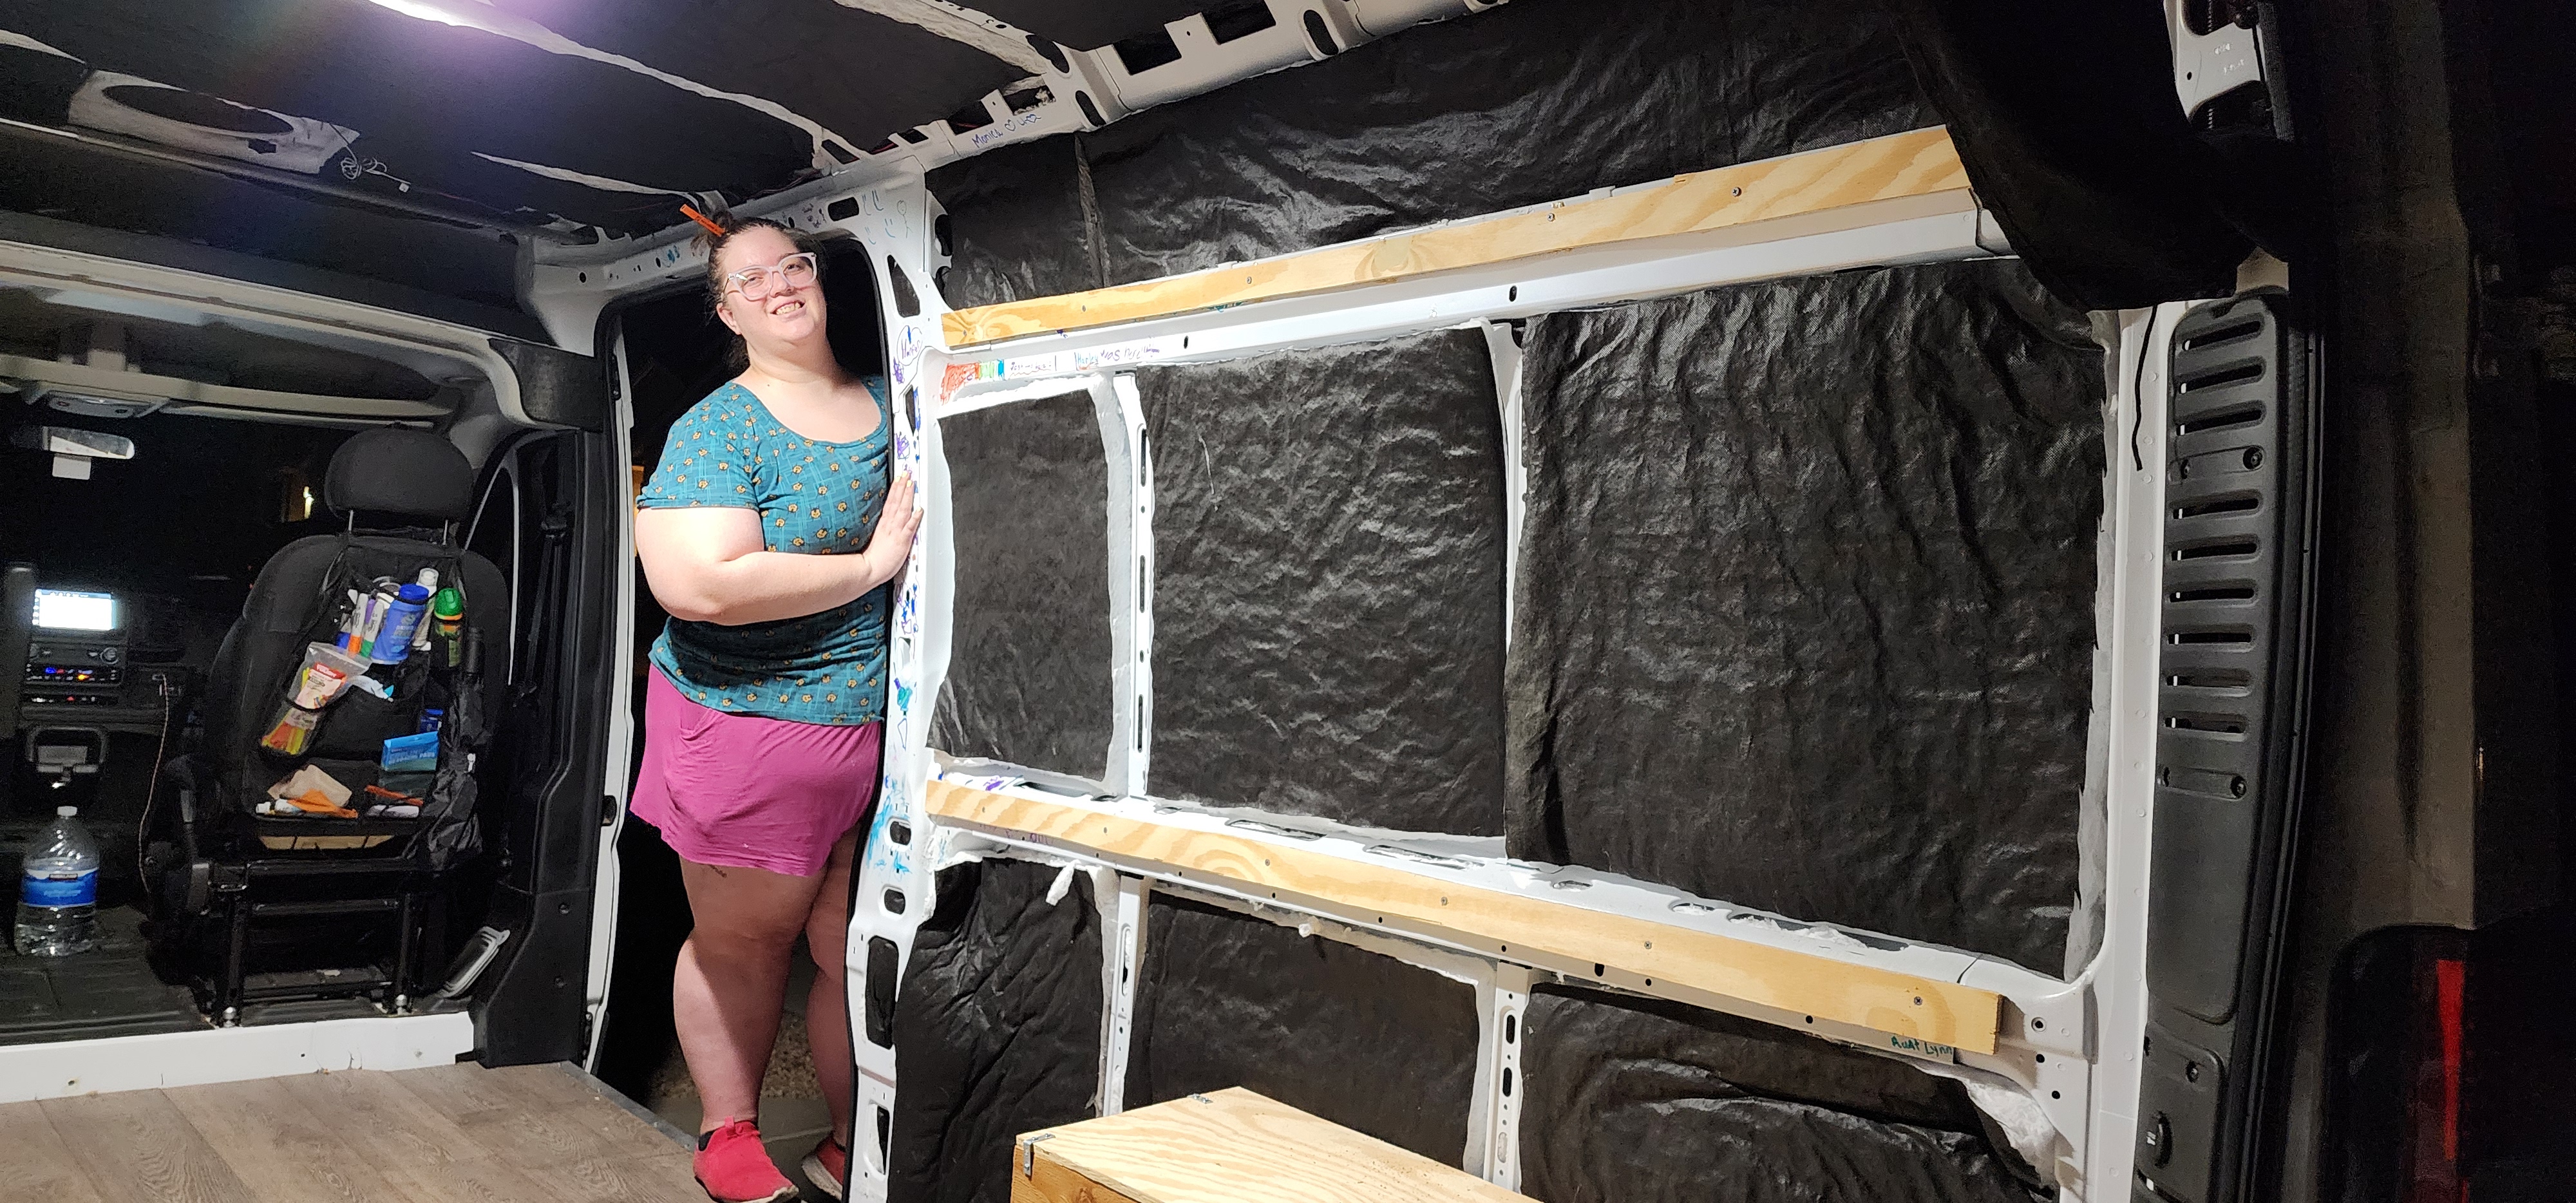
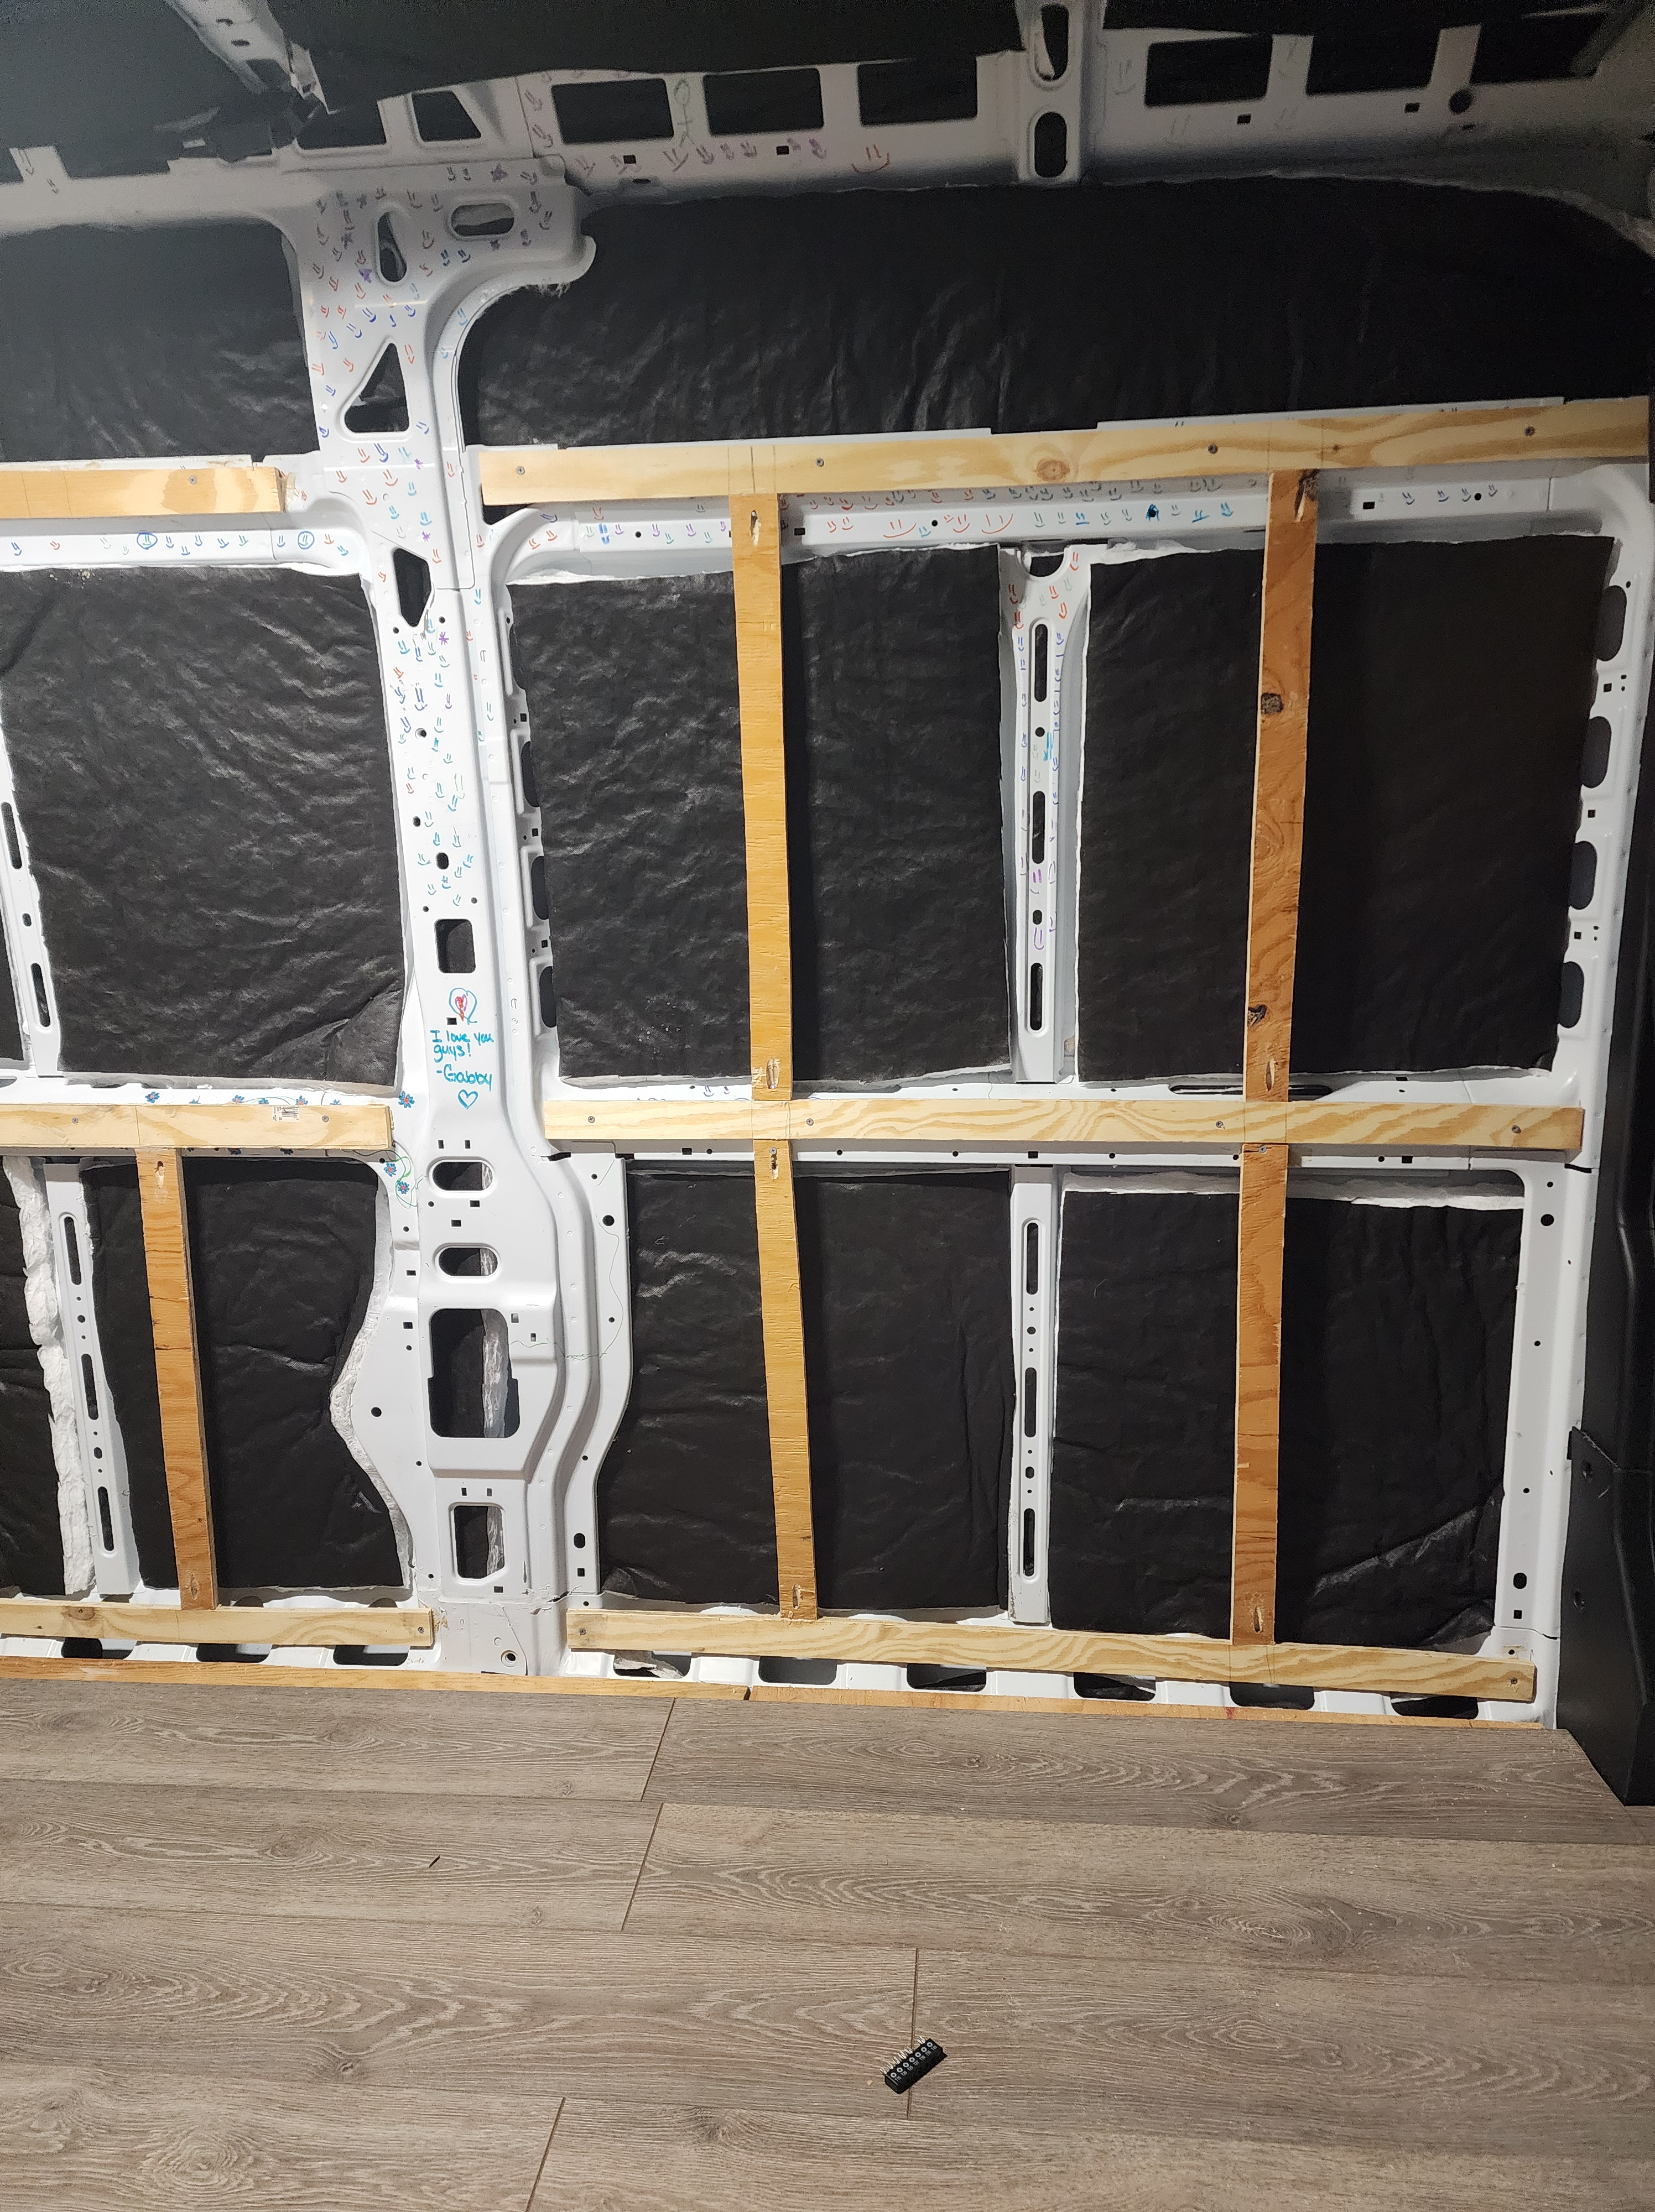
We got our walls and ceiling done in May 2024. We had gone back and forth on the method and materials we wanted to use. There were two main avenues we were pursuing. We wanted to either attach treated plywood to the existing metal framing using rivet nuts and bolts or create a wood frame system to attach wall panels to. Height is always one of our biggest concerns since we are both tall people, so we needed the ceiling to take up as little space as possible. The paneling was ideal for saving precious centimeters. We thought about utilizing both methods–the plywood for the walls and the paneling for the ceiling–but that would not have been cost effective and the increased durability of the plywood didn’t seem worth it. So, we settled on framing with wood and screwing on panels.
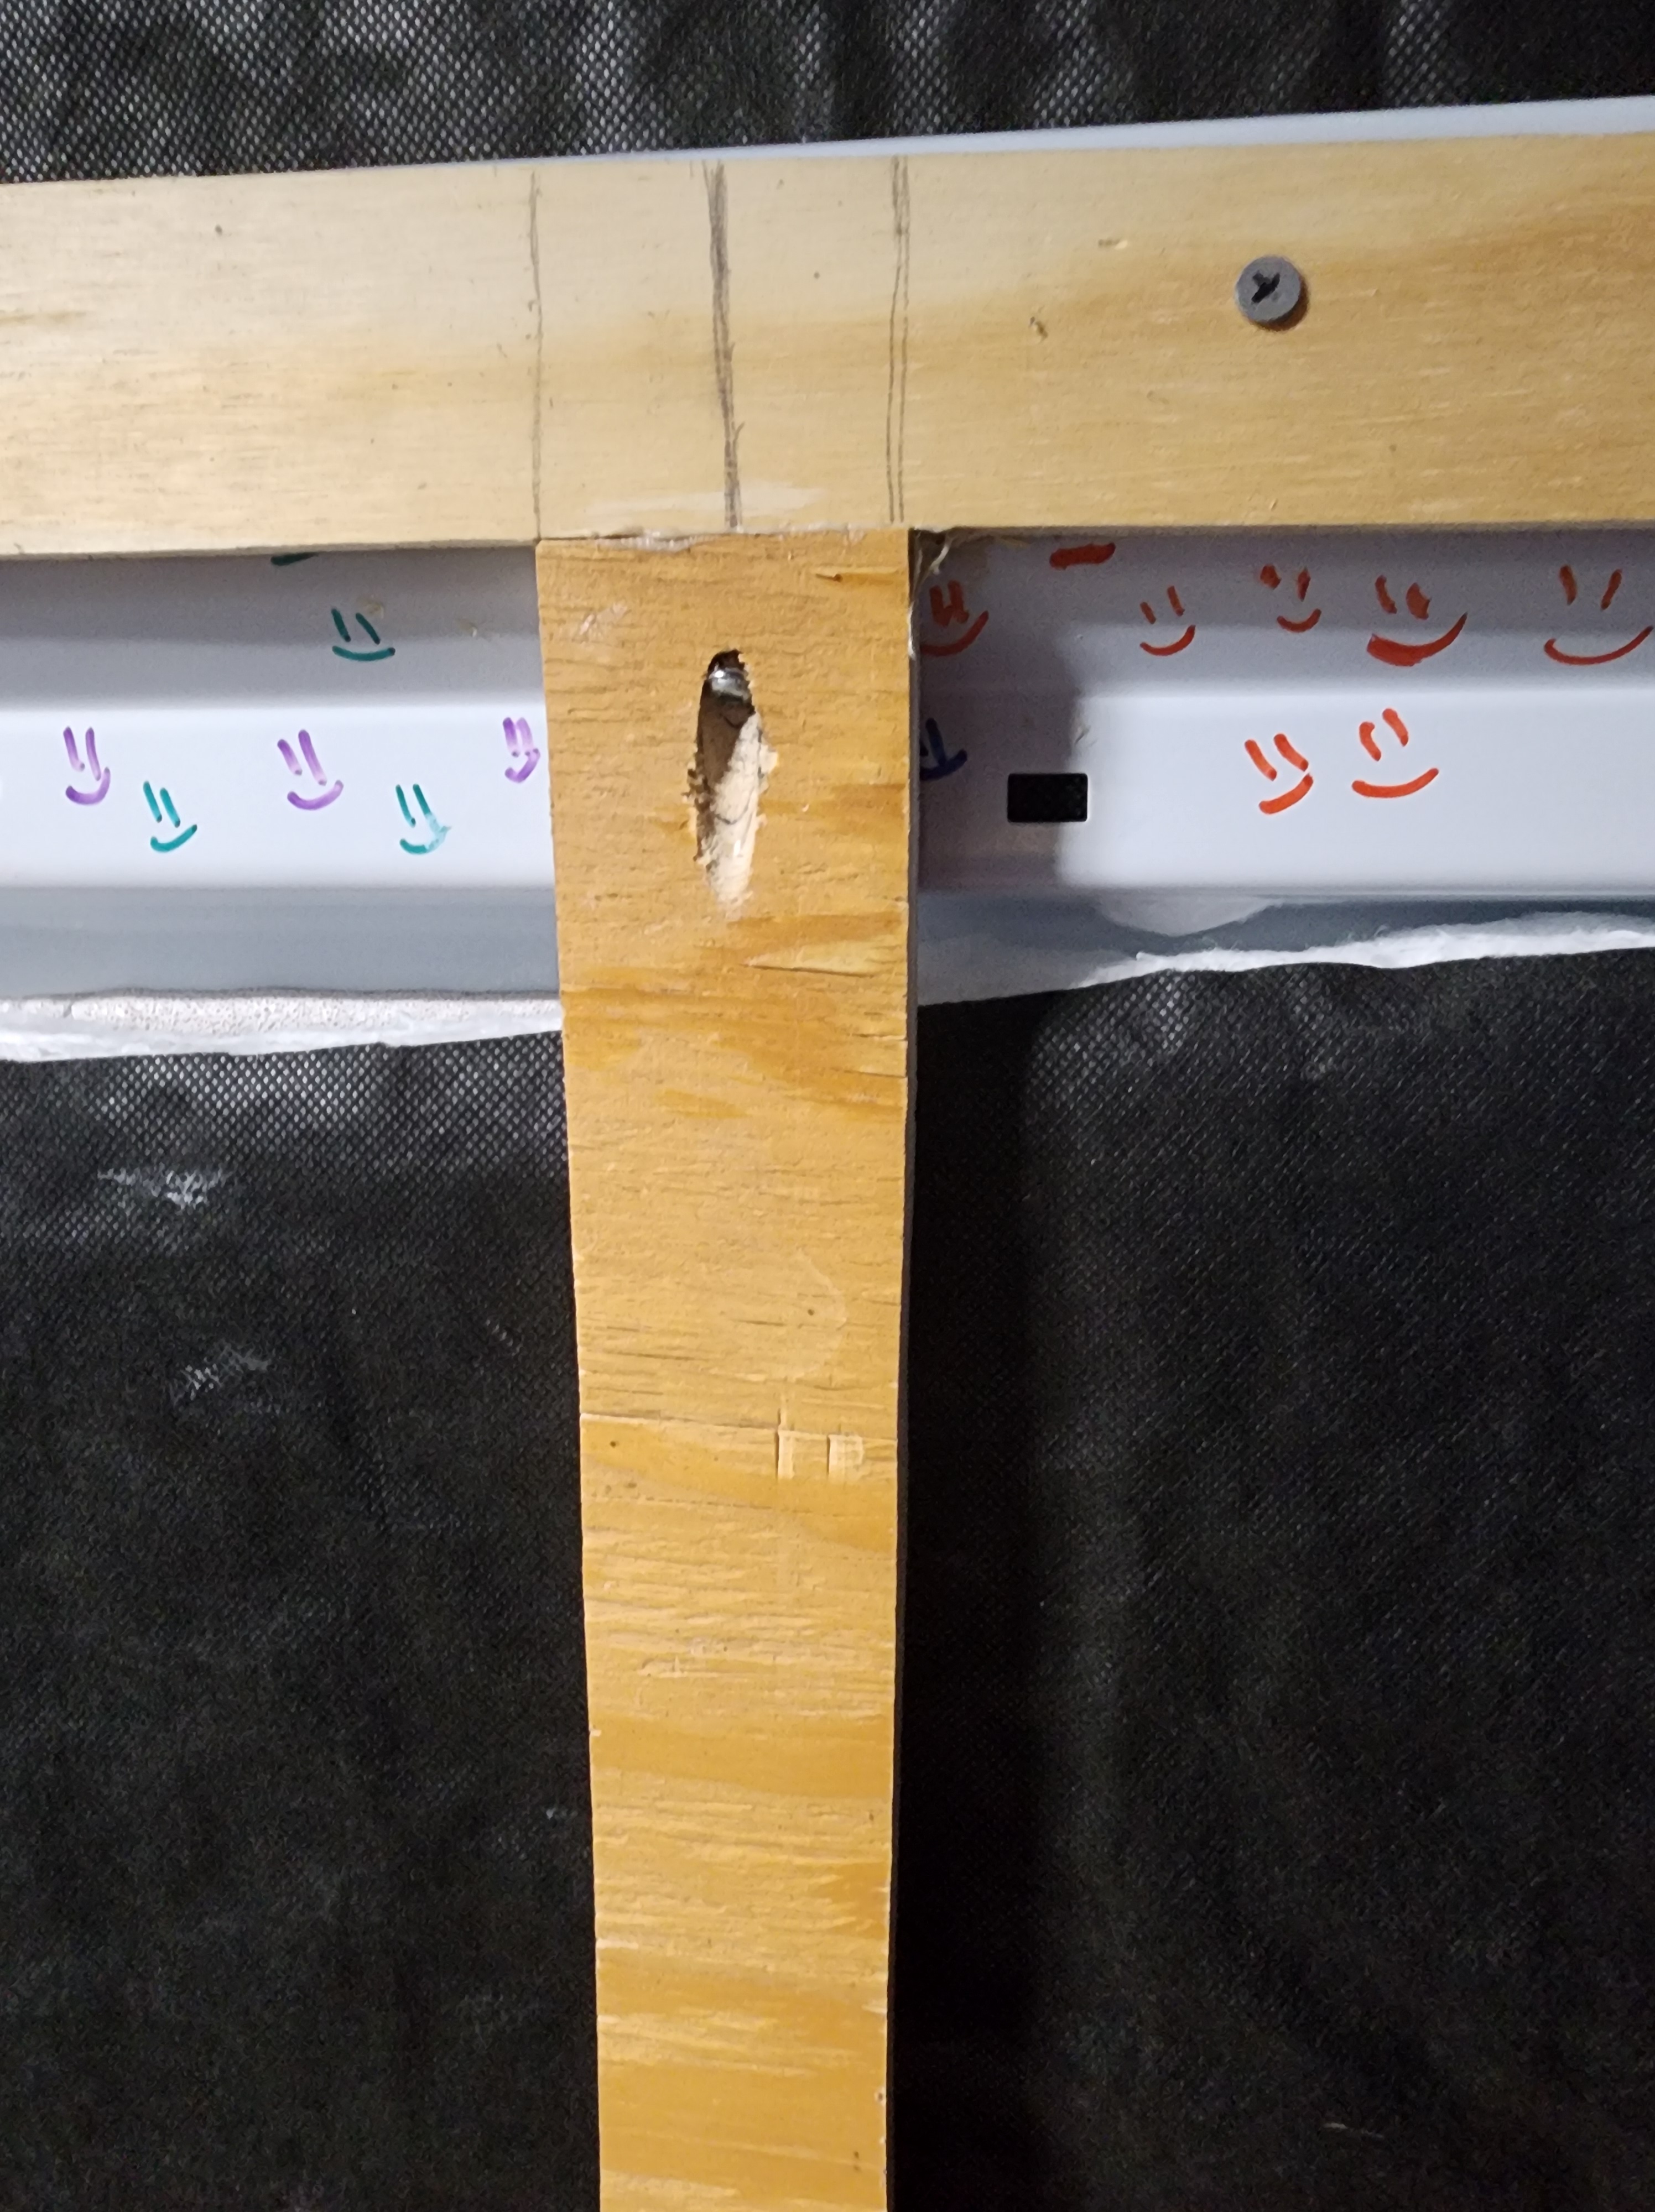
For the framing, we used 1″x2″ furring strips, a Kreg Pocket Hole Jig, wood screws, and Liquid Nails. The Kreg Jig was so fun to use. It felt really fancy and complicated, but it was easy as pie.
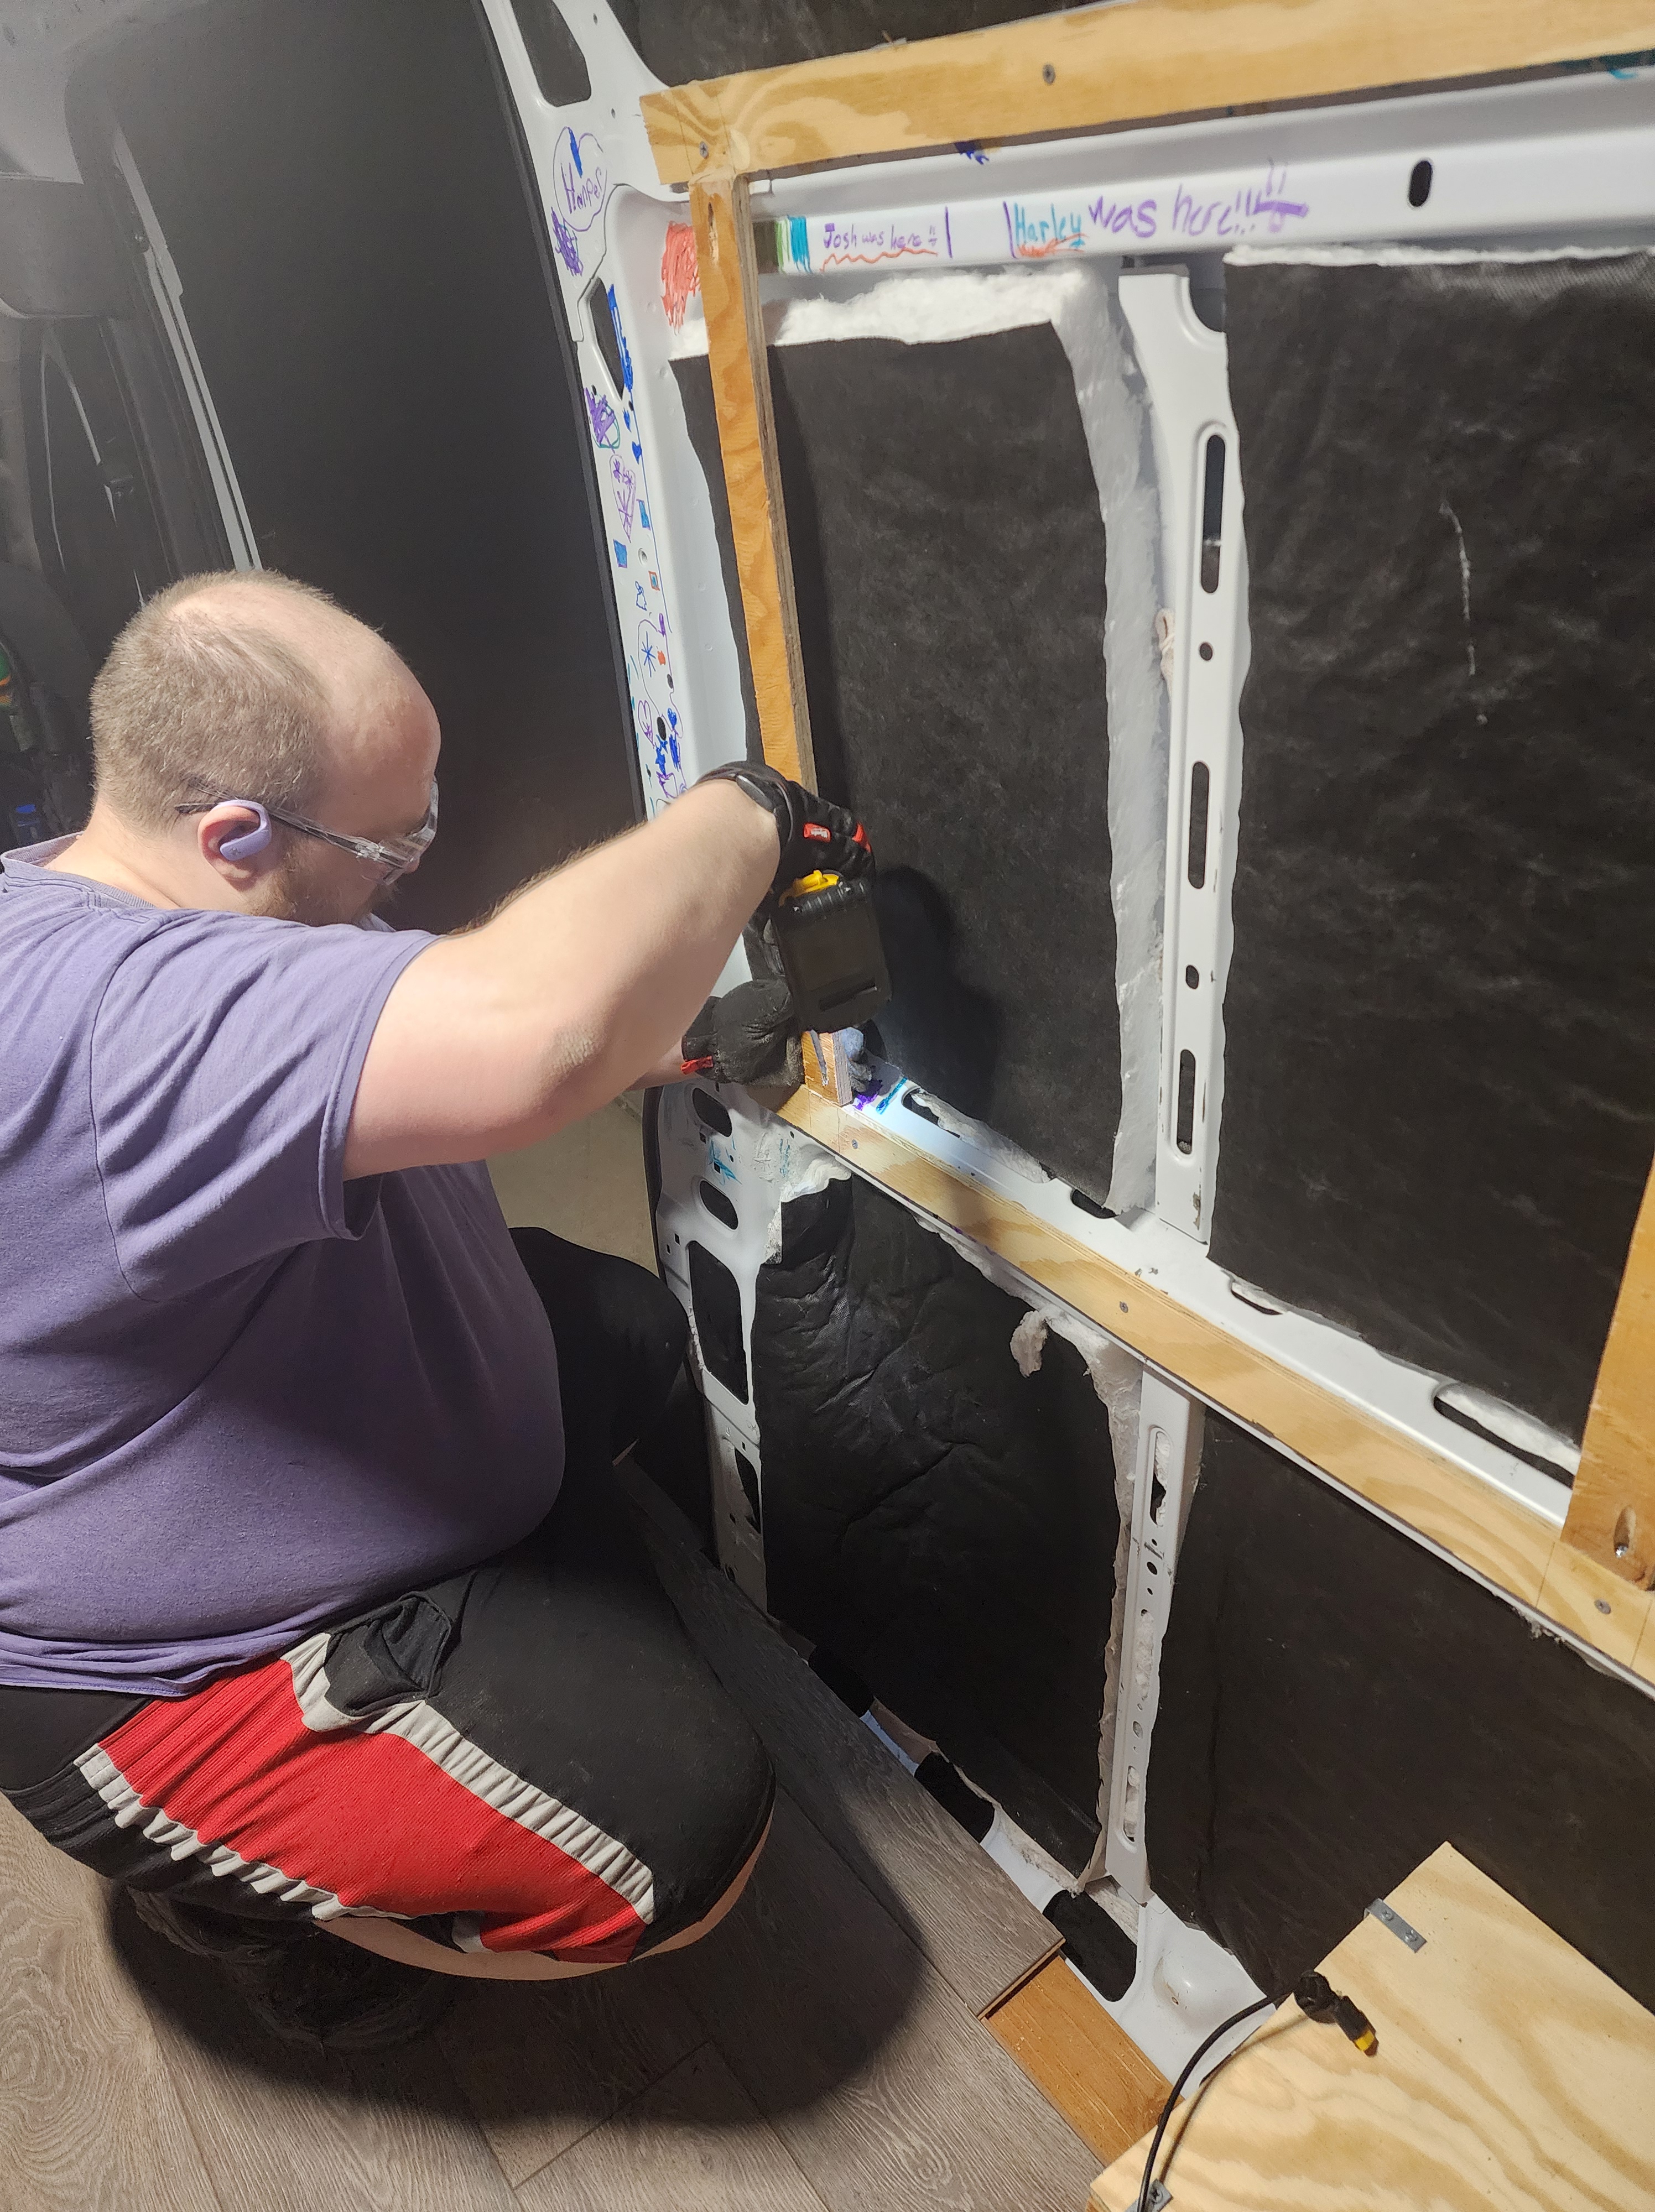
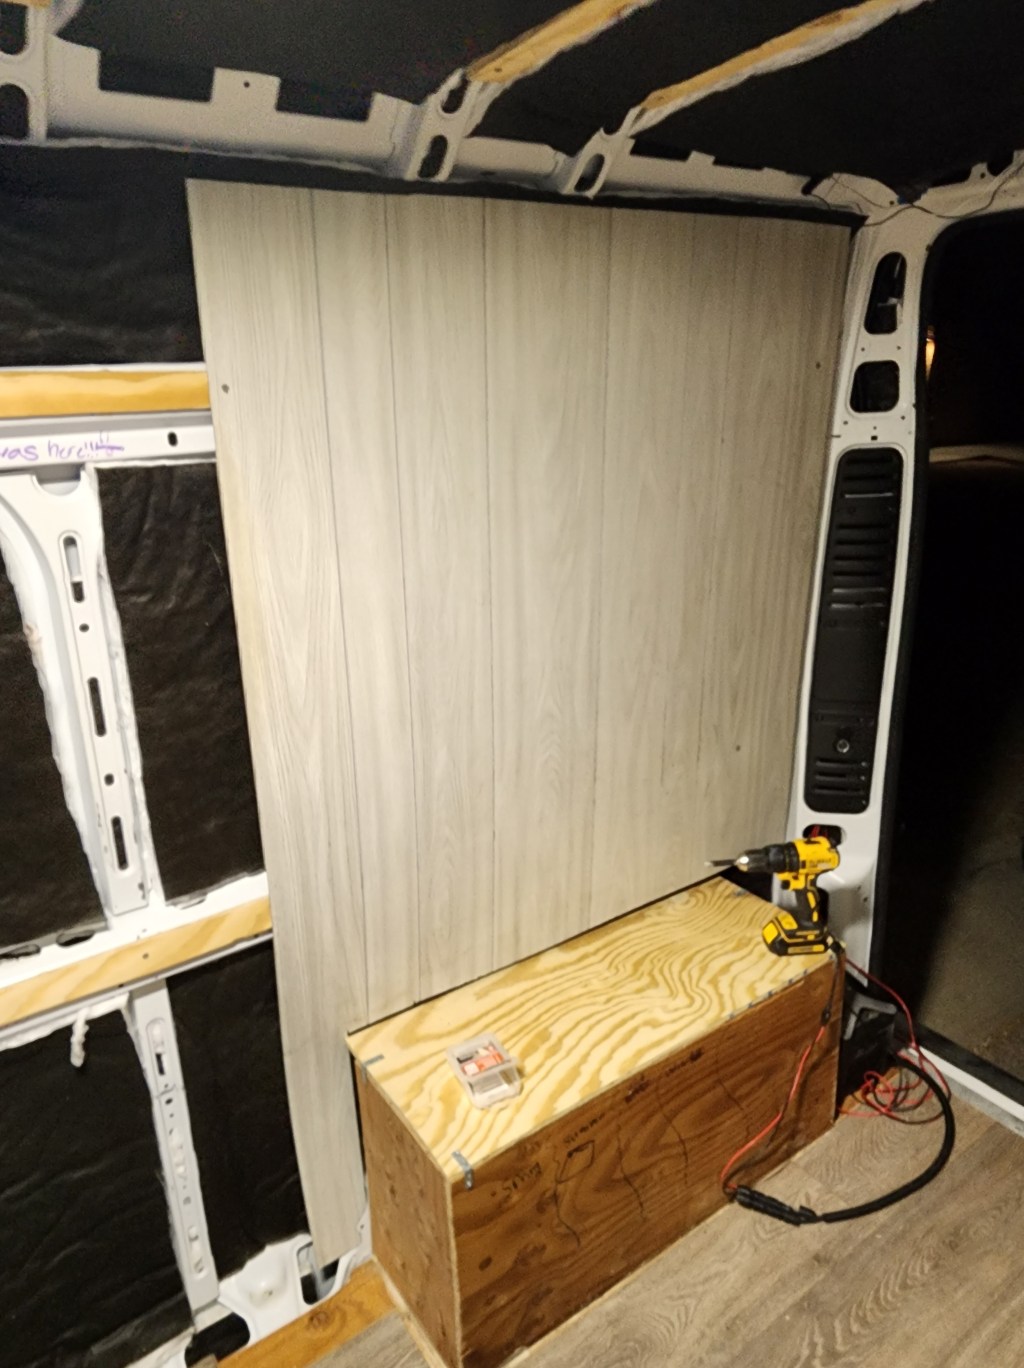
We were almost done with the framing and contemplating attaching the panels when we remembered some lights Thomas’s Aunt and Uncle living up in Canada had sent us. Since our van came with a high quality overhead light, we didn’t really need the interior light the kit came with, but the outdoor light was exactly what we didn’t realize we needed. It is super bright, has multiple settings, doesn’t use too much power, and it was very simple to install. We had to drill a hole through the wall of the van which is always nerve-racking, but that was the worst bit. You can see Thomas working on wiring the light into our bus below. He’s so handsome when he works on our wiring.
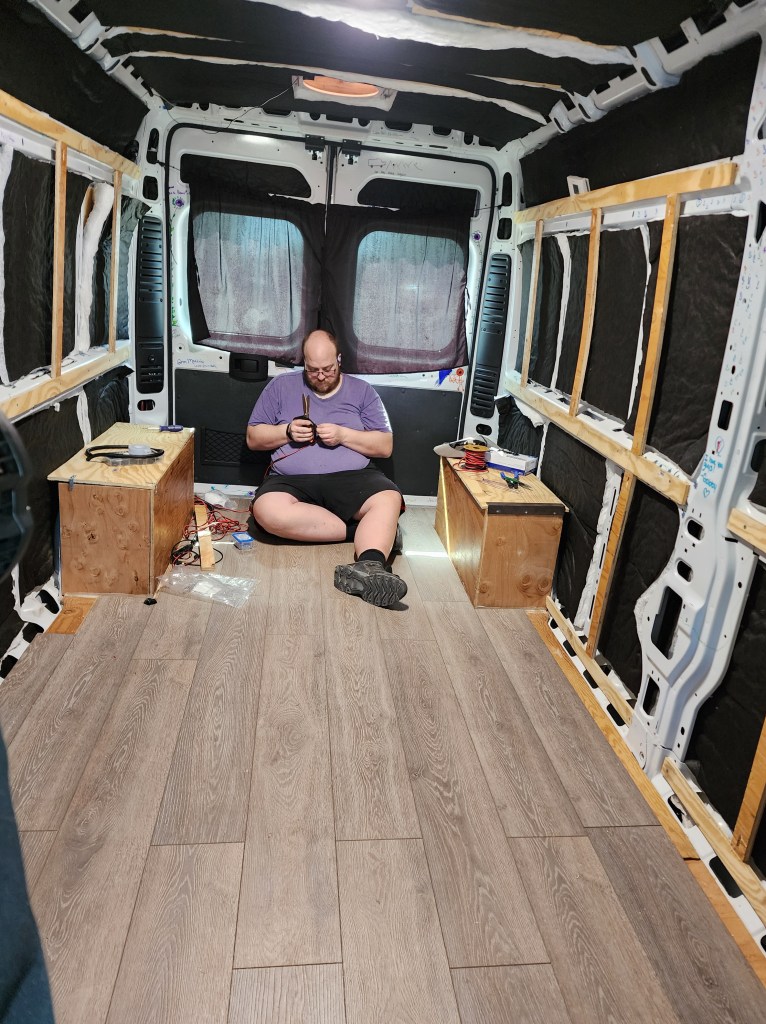


I should say, we actually worked on prewiring before starting on the walls. We made sure all of our wiring was protected with plastic conduit and used rubber grommets wherever they would fit along the metal pathways behind the metal framing. We had the two fans, the solar panels, and the light all wired into our simple bus in our garage. For anything else we would need to power, we planned to utilize extension cords. With the wiring squared away, we were able to start in on the paneling.
We used 48″x96″ MDF Wall Panels with a gray woodgrain pattern. Panel board nails would have been ideal for attaching the panels to the framing, but we were hoping for the ability to interchange the panels if they were ever damaged which meant we couldn’t use glue and that made nails seem too insecure with how much movement they’d have to put up with. We went with 1/2″ wood screws…which is looking like a mistake. All that movement we were worried would be too much for the nails themselves is turning out to be a bit much for the panels to keep up with against the screws. We are most likely going to have to glue the panels soon.

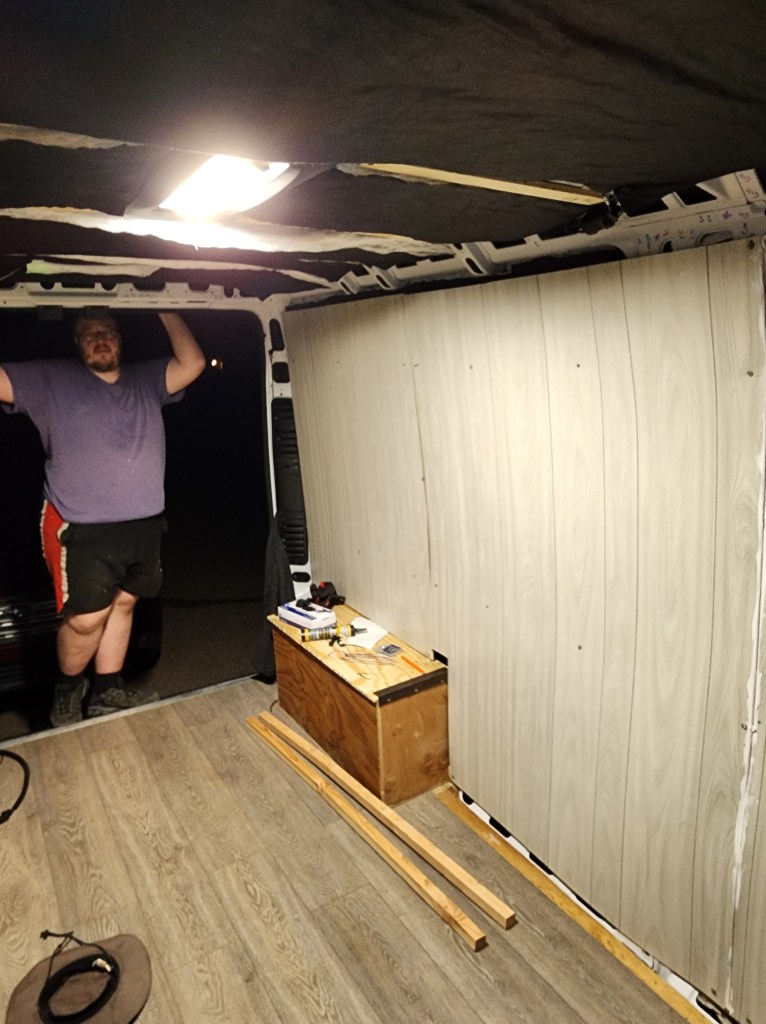
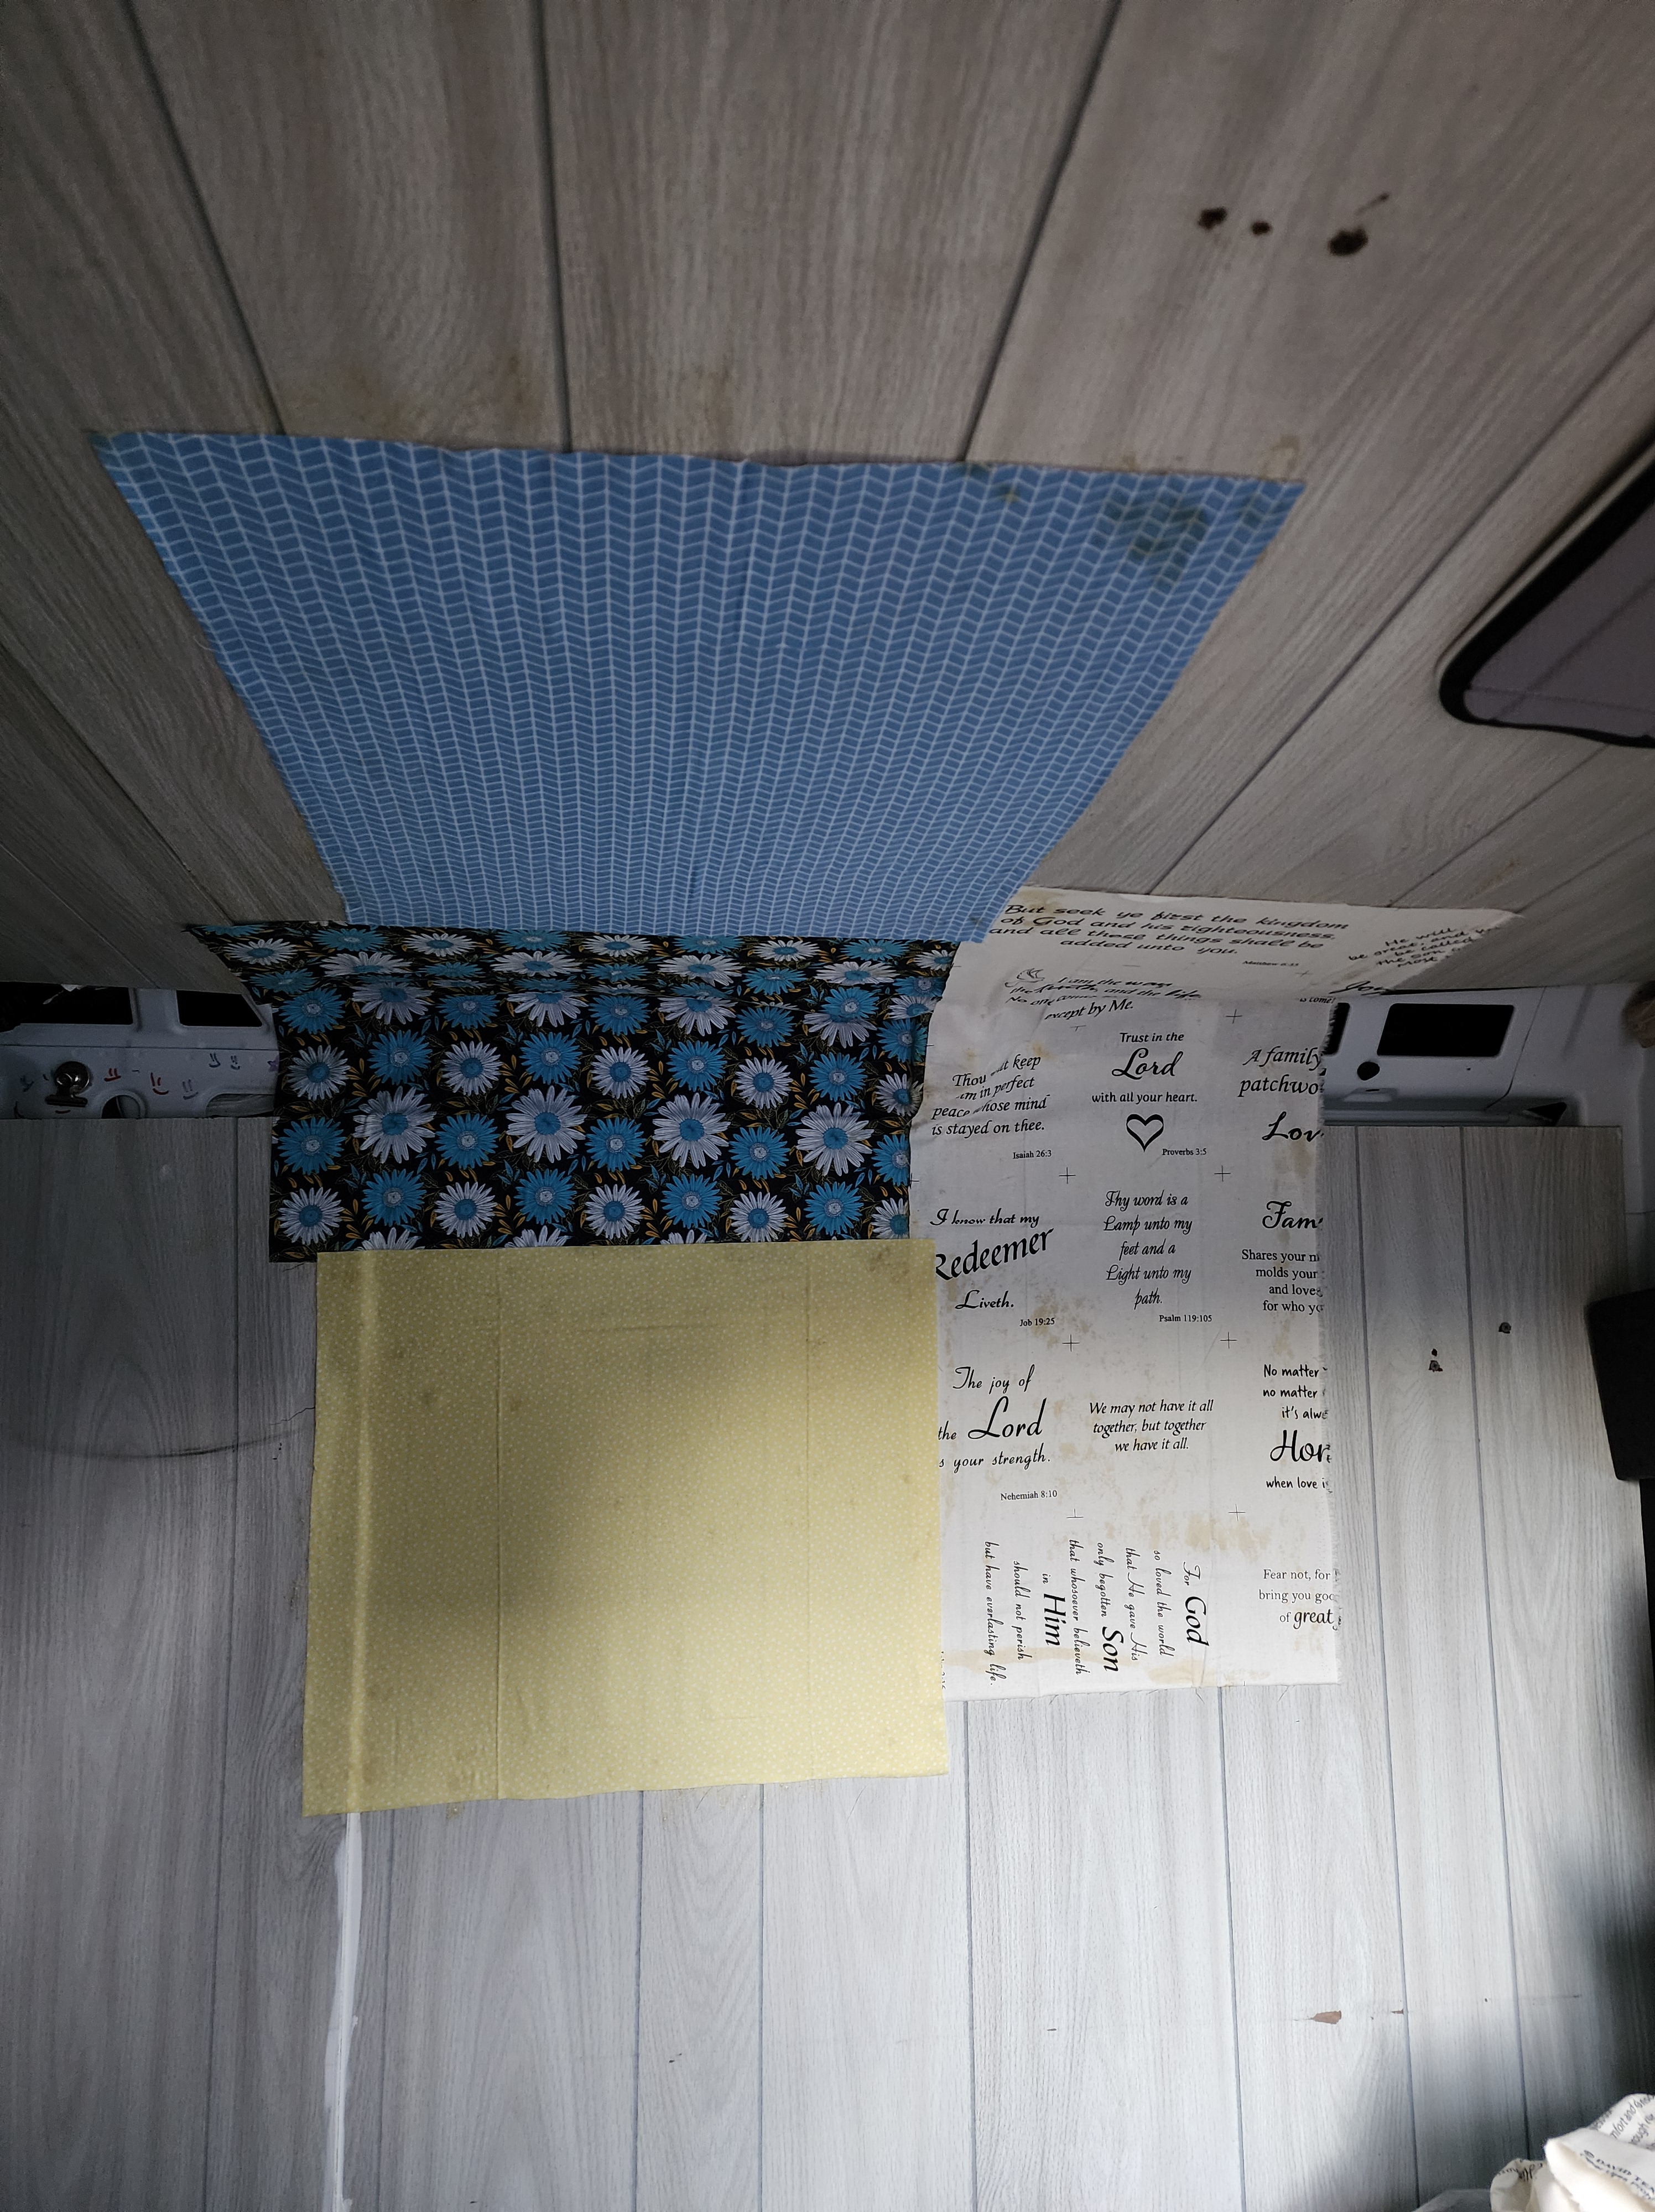
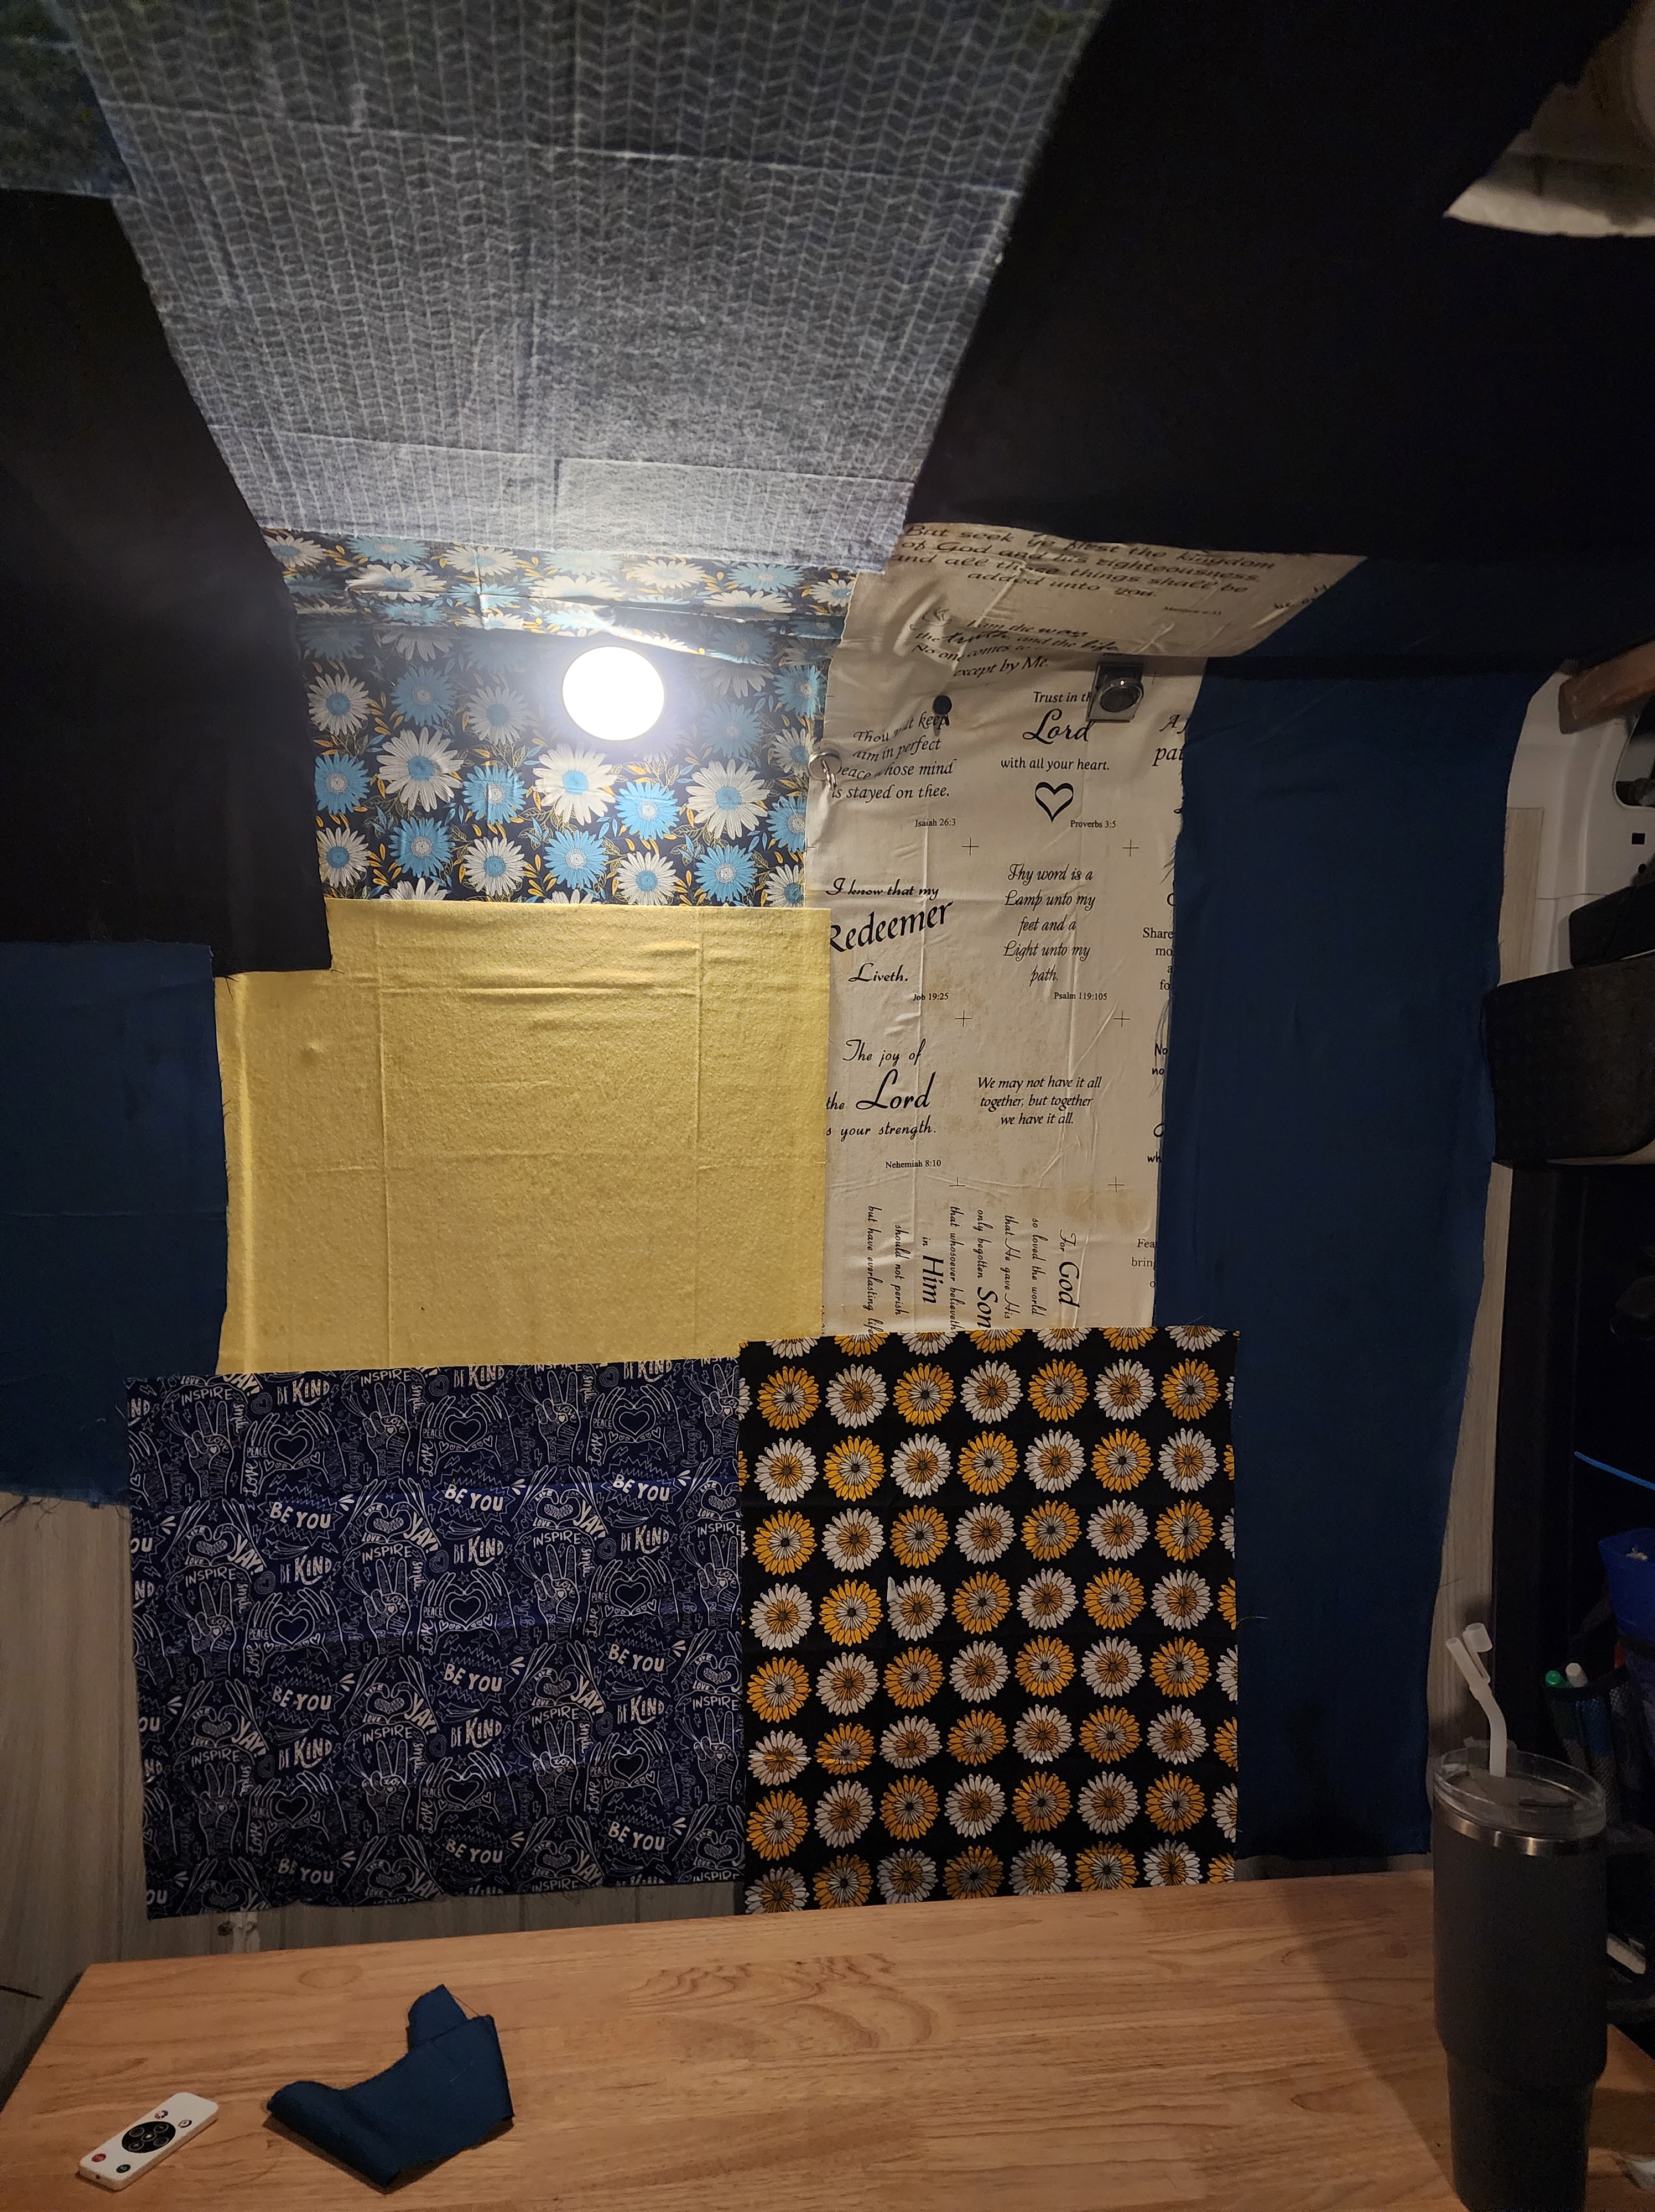
It is not a perfect job, but for two completely unskilled people putting up walls, I think it turned out pretty well. Honestly, we were just glad to have the more finished look after a year of staring at the naked insulation. The biggest issue we had was getting the ceiling measurements exactly right. We ended up with some big gaps in the front, so as our last project in our van build (or so I thought), I decided to cover the front half of the driver’s side wall and ceiling with fabric in a patchwork pattern. It gave us a nice statement wall.

Leave a reply to Anonymous Cancel reply